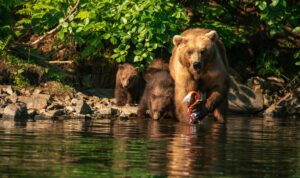
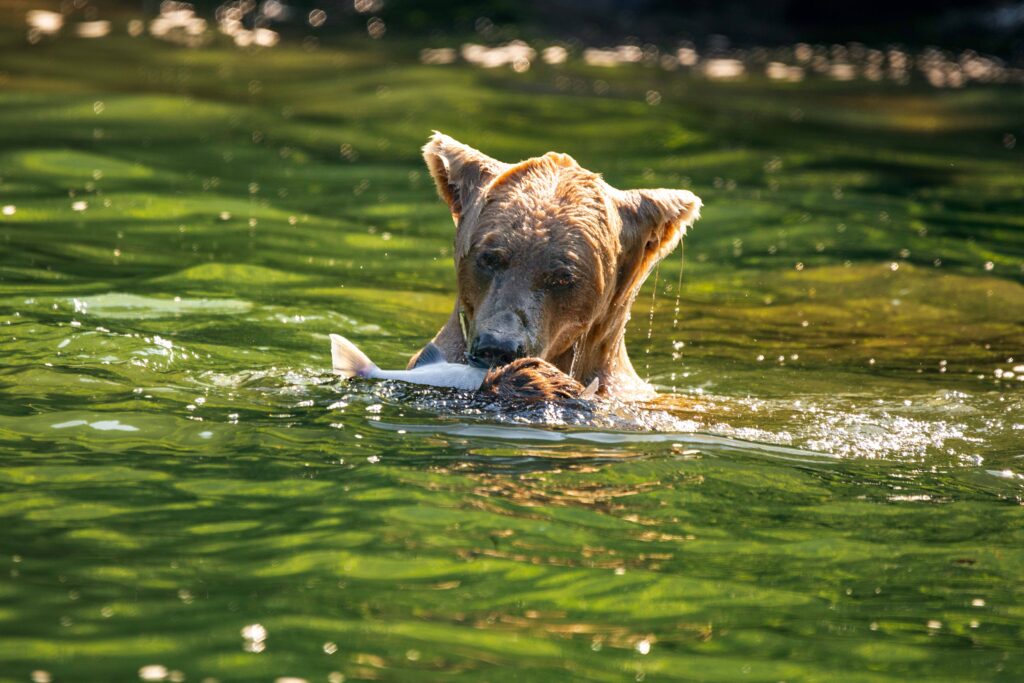
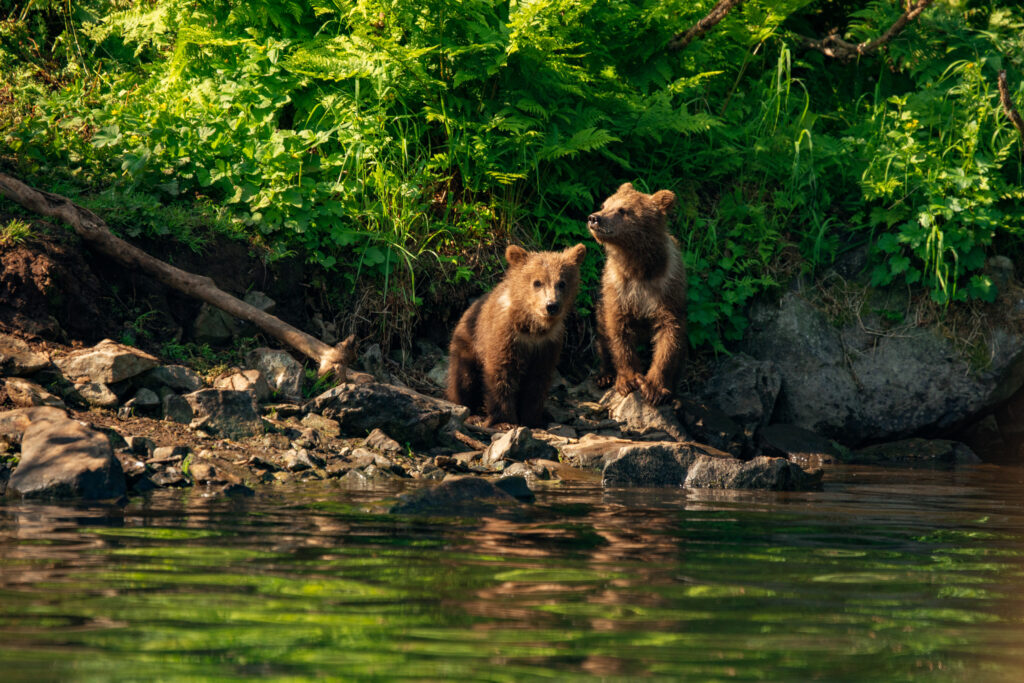
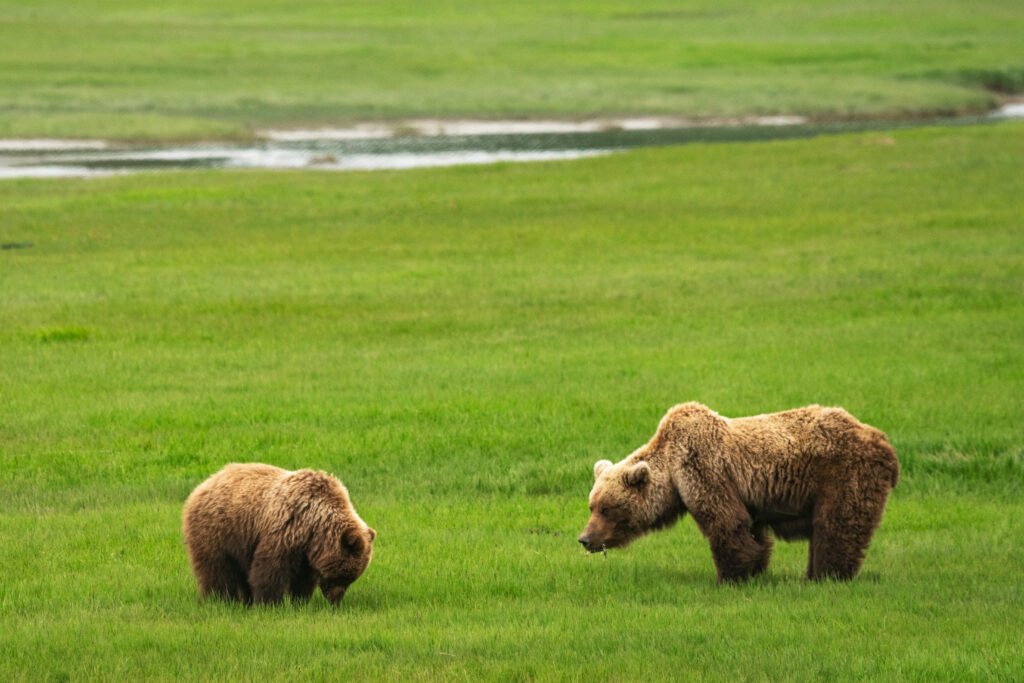
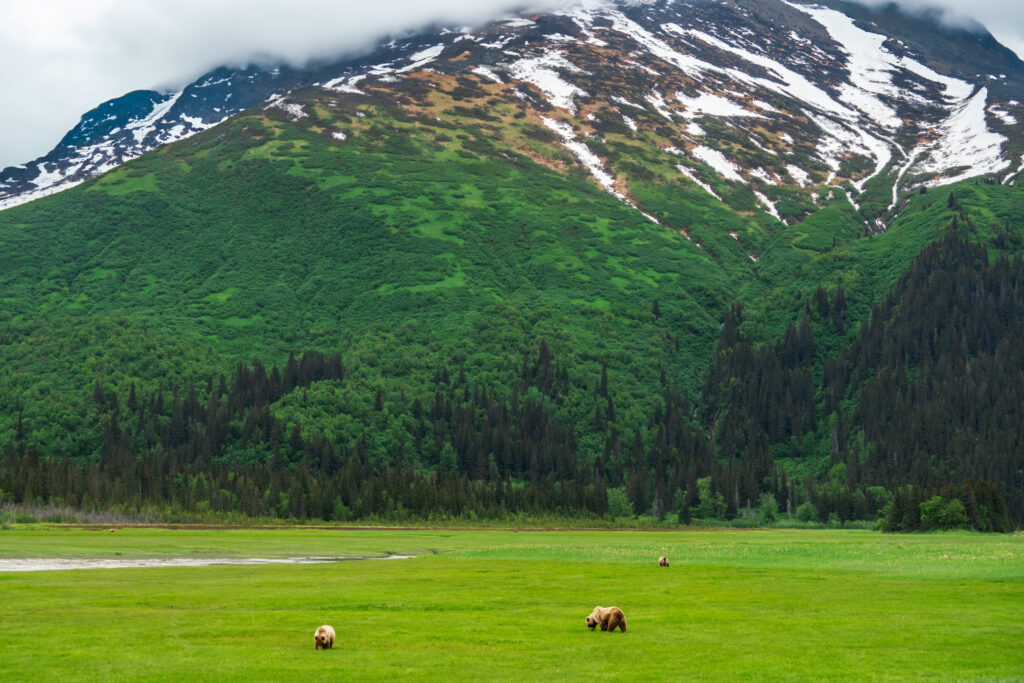
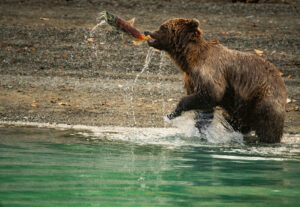
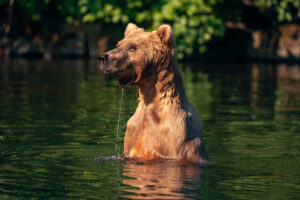
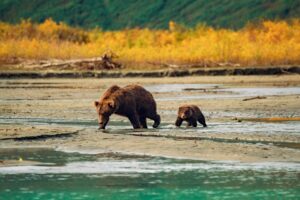
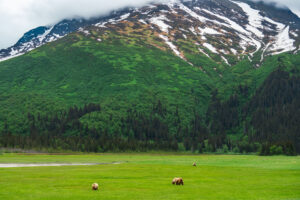
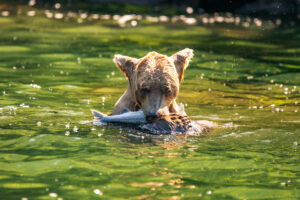
Redoubt Bay, located on the southwest side of Cook Inlet in Alaska, is part of the Redoubt Bay Critical Habitat Area—an important wildlife sanctuary known for its incredible bear viewing opportunities. This remote and scenic region is where coastal brown bears gather to feed on spawning salmon in the summer months. Surrounded by rugged mountains, lush wetlands, and pristine lakes, Redoubt Bay offers visitors a rare chance to observe bears in their natural habitat. It’s a true wilderness experience just a short floatplane flight from Anchorage.
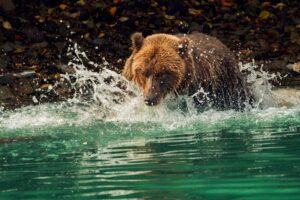
On this tour you’ll explore the scenic chain of Big River Lakes aboard a covered pontoon boat, led by knowledgeable naturalist guides. These waters, home to sockeye and Coho salmon, are a favorite feeding spot for resident bears. Redoubt Bay is home to one of the most concentrated bear populations in the state of Alaska. This bear viewing destination draws both bears and fishermen alike. Choose from morning or afternoon departures for this half-day adventure, which lasts approximately 6 ½ hours. Extended and overnight packages are also available if you would like to spend more time in remote Alaska.
The Journey Begins: Scenic Flights Over Alaska’s Wild Beauty
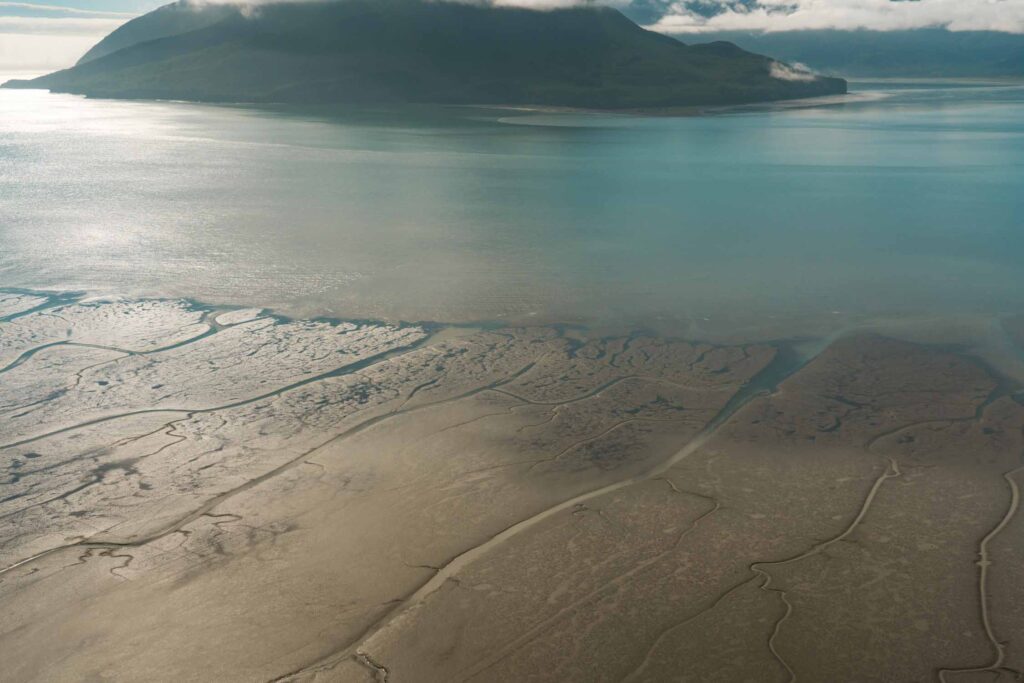
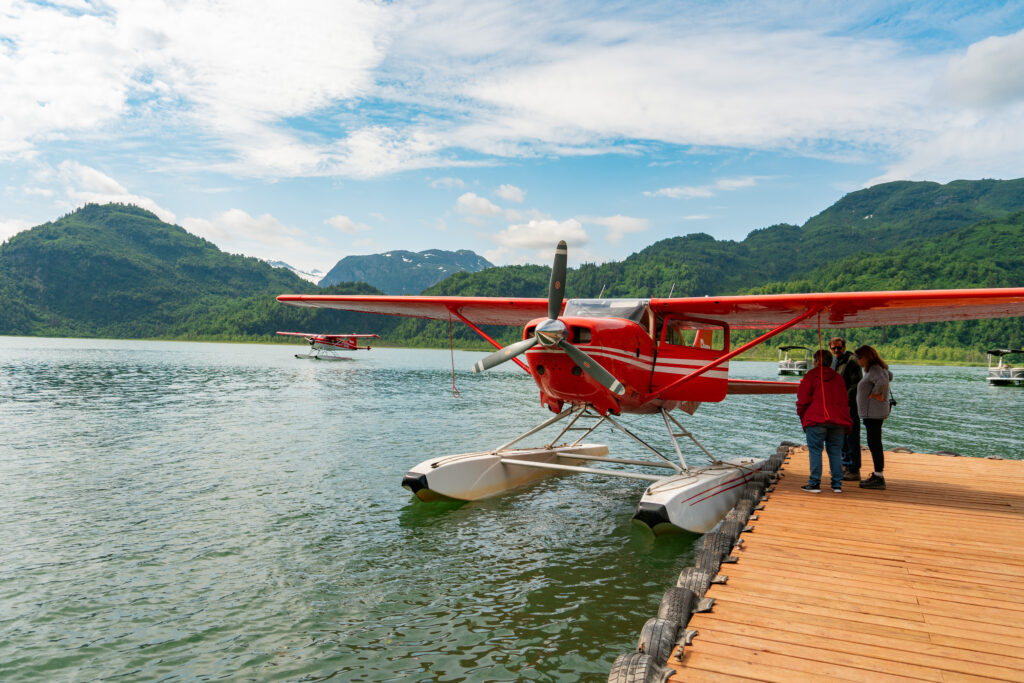
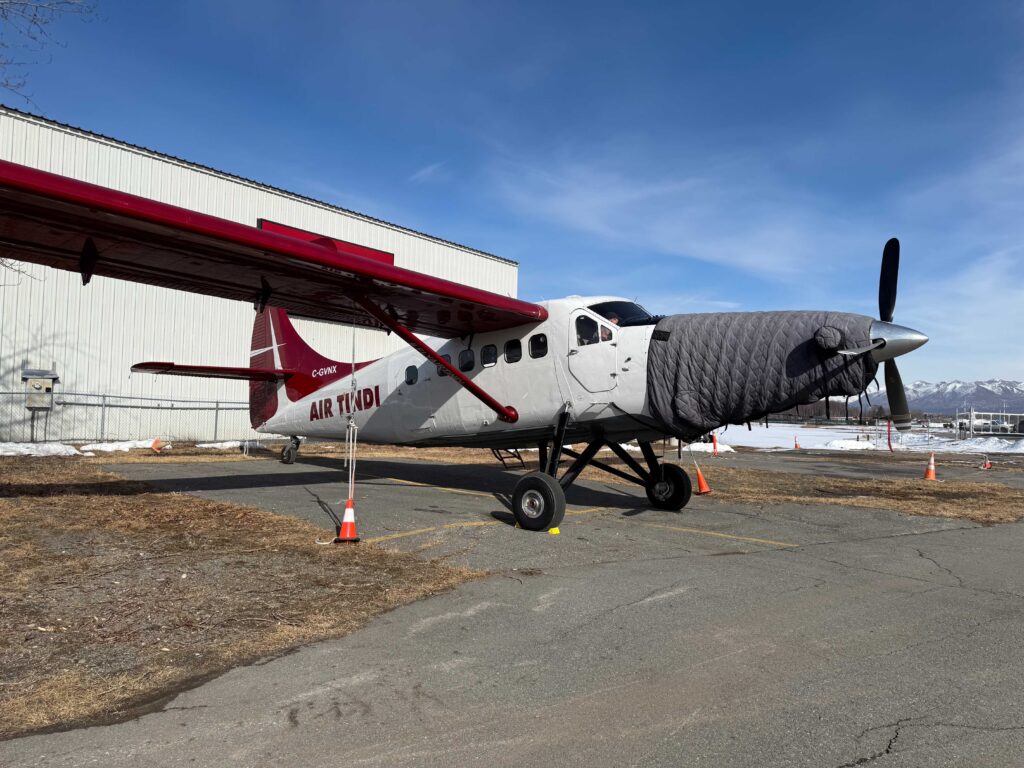
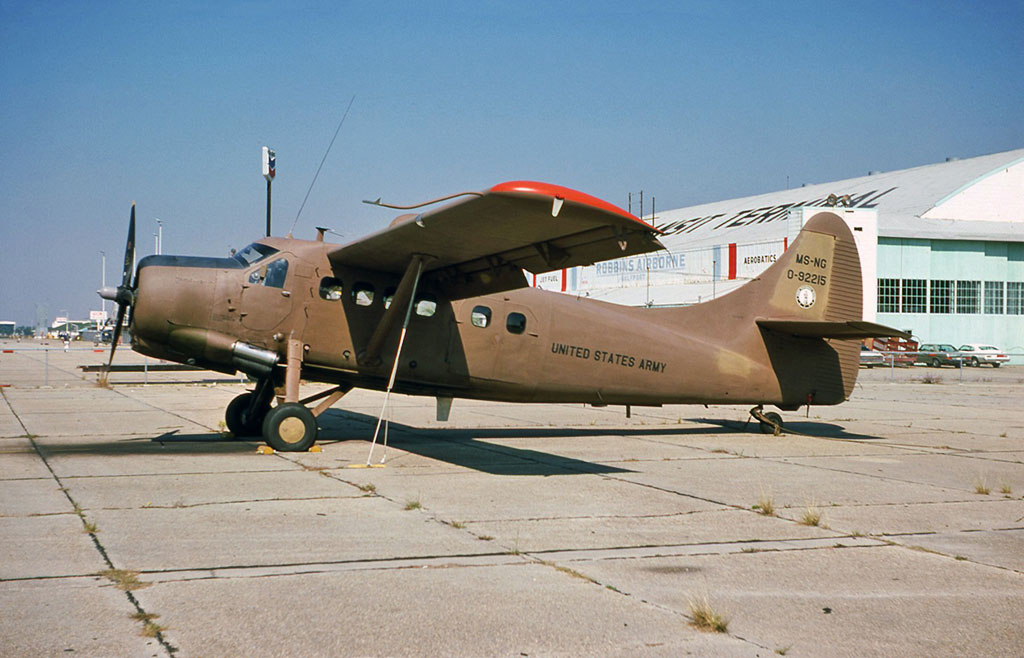
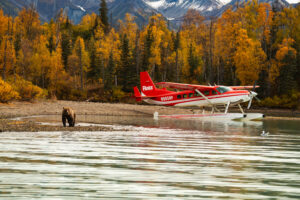
You’ll begin your journey at Lake Hood, one of the world’s busiest floatplane base, where you’ll meet our friendly staff to check in. After being briefed by your pilot and loaded onto one of our classic aircraft, you’ll head southwest over Cook Inlet and the western edge of the Kenai Peninsula toward the foothills of Lake Clark National Park. Along the way, take in breathtaking views of rugged mountain ranges, shimmering glaciers, and the volcanic peaks of Mt. Redoubt and Mt. Iliamna. You might also spot Beluga whales in the waters of Cook Inlet or catch a glimpse of expansive tidal flats below. With two-way headsets, you can chat with your pilot about the region’s rich history and fascinating geology. Your pilot will choose the optimal route based on weather and the best scenic opportunities.
Bear Viewing: Redoubt Bay Lodge Experience
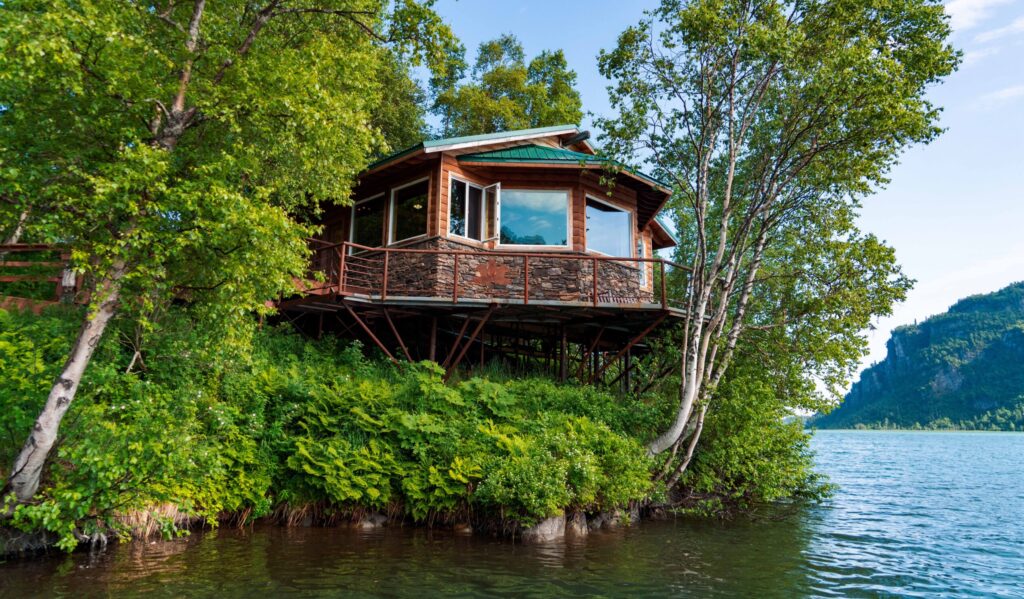
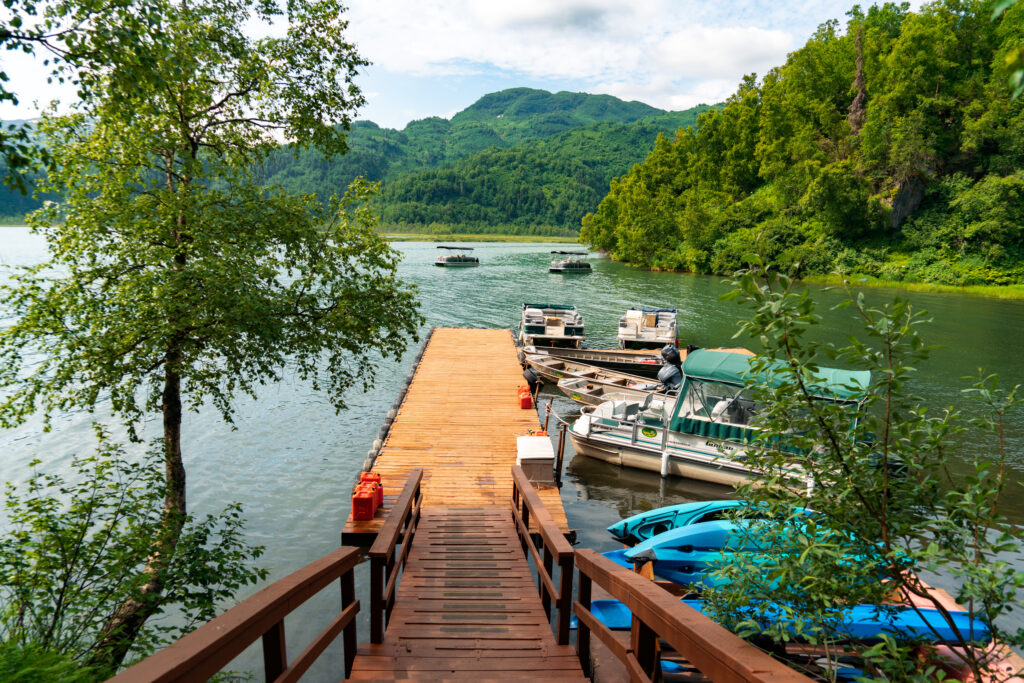
After a scenic 50-minute flight, you’ll arrive at the remote docks of Redoubt Bay Lodge—a charming, hand-crafted collection of rustic cabins nestled within a 171,000-acre critical habitat area. Located about 70 miles southwest of Anchorage, near the entrance to Lake Clark National Park, the lodge offers a truly wild and welcoming experience.
Upon arrival, you’ll be greeted by the friendly lodge staff and board pontoon boats for an intimate wildlife tour surrounded by stunning mountain views. As you quietly float through the area, your naturalist guide will share insights about the bears, birds, and fish that call this region home. Redoubt Bay is home to a multitude of life including black and brown bears, salmon, and bald eagles.
Following your time on the water, if you are brave enough to try, your guide will lead you on a short barefoot walk across the Alaskan muskeg—an otherworldly floating bog that feels like a natural trampoline underfoot.
Before your return flight to Anchorage, you’ll be treated to a delicious hot meal at the lodge, often featuring fresh salmon and a crisp salad—an ideal way to end a day of unforgettable exploration.
What to Expect on Your Day Trip
- Departure: Your day begins at Lake Hood Seaplane Base in Anchorage. Here you’ll meet your pilot, our friendly staff, and receive a trip briefing.
- Scenic Flight: Enjoy a roughly 50 minute flight to Redoubt Bay with commentary highlighting the natural features.
- Bear Viewing: Upon arrival, you’ll spend several hours in prime bear viewing locations, accompanied by a knowledgeable guide who enhances the experience insights about bear behavior and the local ecosystem.
- Return Journey: After a day of unforgettable sights and sounds, you’ll take to the skies once more for your scenic return flight to Anchorage.
Tips for Making the Most of Your Trip
- Dress Appropriately: Layers are essential in Alaska’s variable weather. Bring comfortable sturdy footwear for walking around the lodge and boat docks.
- Pack Essentials: Binoculars, a camera, sunscreen, and insect repellent are must-haves for this trip.
- Follow Instructions: Listen to your guide’s advice and maintain a respectful distance from the wildlife to ensure your safety and the bears’ comfort.
Why Choose Rust’s Flying Service?
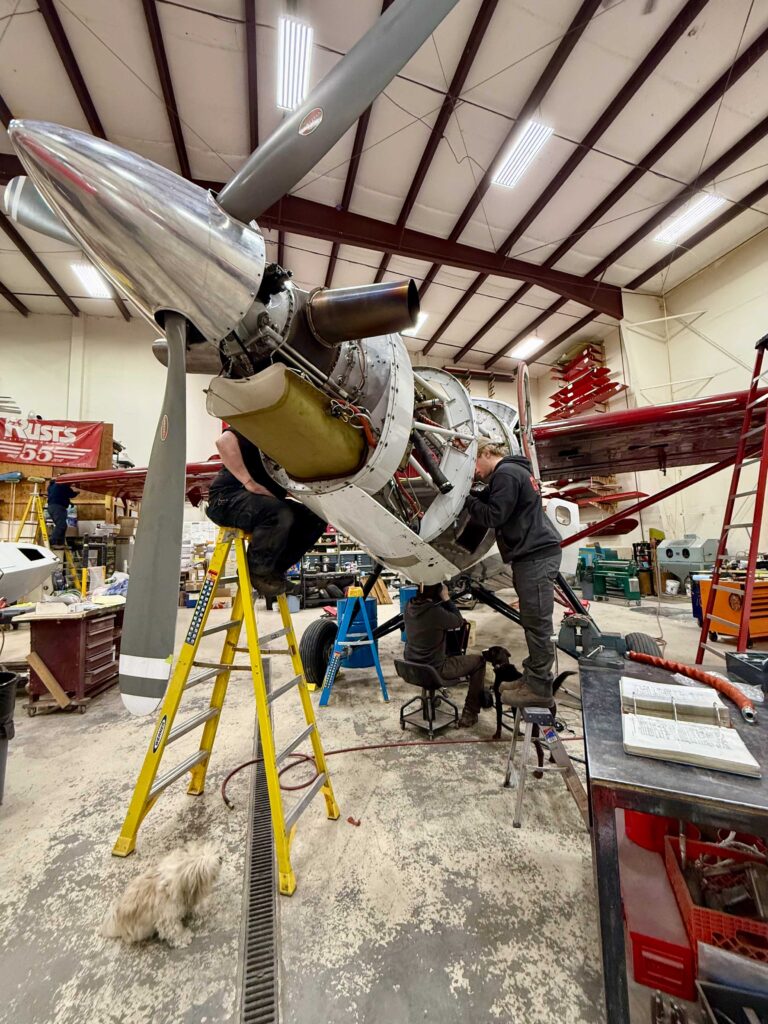
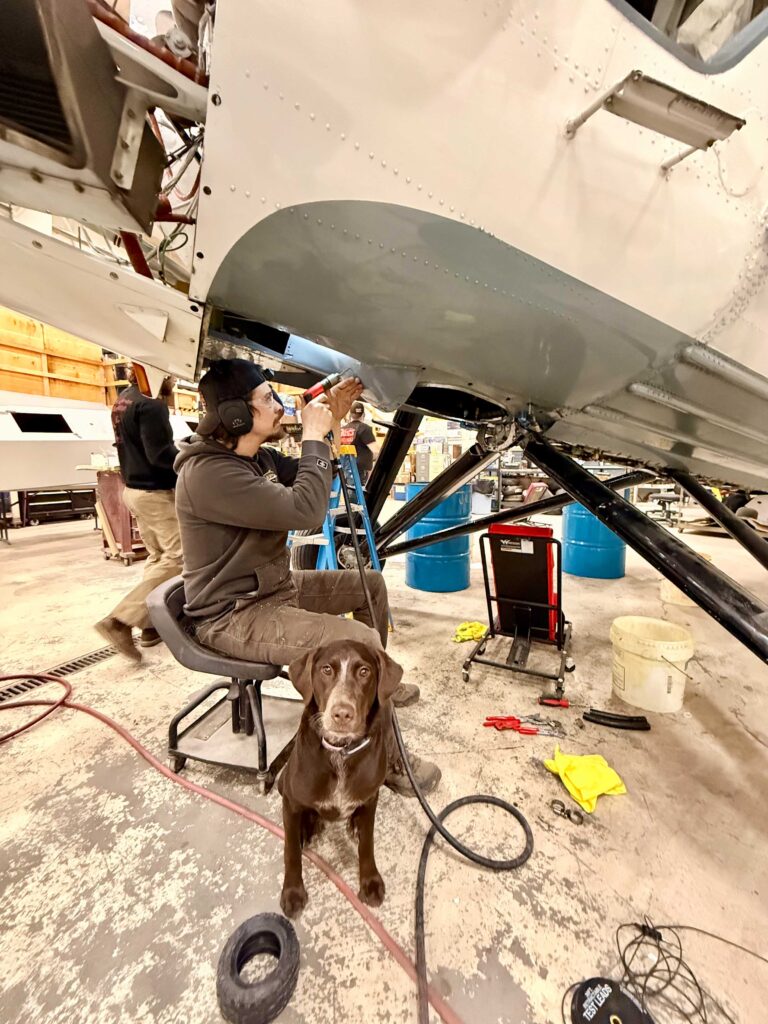
With over 60 years of experience, Rust’s Flying Service is a trusted name in Alaska aviation. Our commitment to safety, personalized service, and unforgettable experiences has made us a favorite among locals and visitors alike for six decades. When you choose Rust’s for your Redoubt Bay bear viewing adventure, you’re not just booking a tour—you’re embarking on a journey with a team that shares your passion for Alaska’s wild beauty. Rust’s Flying Service takes pride in adhering to responsible wildlife viewing practices. Guests are guided to designated viewing areas that ensure a safe and respectful distance from the bears, allowing you to observe their behavior without disrupting their routines.
Book Your Redoubt Bay Bear Viewing Tour Today
 Redoubt Bay Bear Viewing Tour from Anchorage
When: June 6 – August 31
Cost: $1045 per person + 3% transportation tax
Trip Time: 6 1/2 hours
Departure Times: 8am and 12:30pm
Activity Level: Mild – small amount of walking
Experience the incredible sight of brown bears in their natural habitat on the Redoubt Bay Bear Viewing day tour with Rust’s Flying Service. With limited seats available during the short summer season, early reservations are recommended.
Visit Rust’s Flying Service to secure your spot and create unforgettable memories in the Alaskan wilderness.



.png)
.png)



Recent Comments